Ever since baby #2 came along (2 years ago now) and took over my craft room, I have had no space to call my own for all my craft supplies. I had been on the lookout for some kind of hutch/TV cabinet type thing to serve as my "craft closet."
Here are a couple inspiration pieces I had pinned:
While scoring a $20 dresser for my daughter's room on Craigslist a while back, they also offered me a free TV cabinet. I knew exactly what I wanted to do with it...turn it into my "craft closet." Did I mention it was FREE?!
I had grand ideas about refinishing it (and still do), but was so anxious to get all my craft stuff in it and organized, that I couldn't wait!
I had my handy dandy husband cut, paint and install some peg board to the back inside wall of the cabinet and also to the inside of both doors. It was very important that my craft space have doors because as I mentioned above, I have a 2 year old boy!
Here's the inside of the left door where I have some jewels, spool of twine, some tear-drop ink pads and other tools.
Here's the inside of the right door where I put 2 baskets...one holding markers and my sticker makers and the other holding glitter (what?!) and some stuff that's supposed to resemble snow but just looks a mess when I've attempted to use it, and my roller tool.
The 2 drawers on the bottom are a sweet bonus! In the top drawer I've got my 6x6 paper pads. Where's the rest, you're wondering? Well, I did a MAJOR paper overhaul and this is what I have left. I know, amazing for me! Ninety percent of it is Christmas! :) I also have my embossing supplies and a paper crimper.
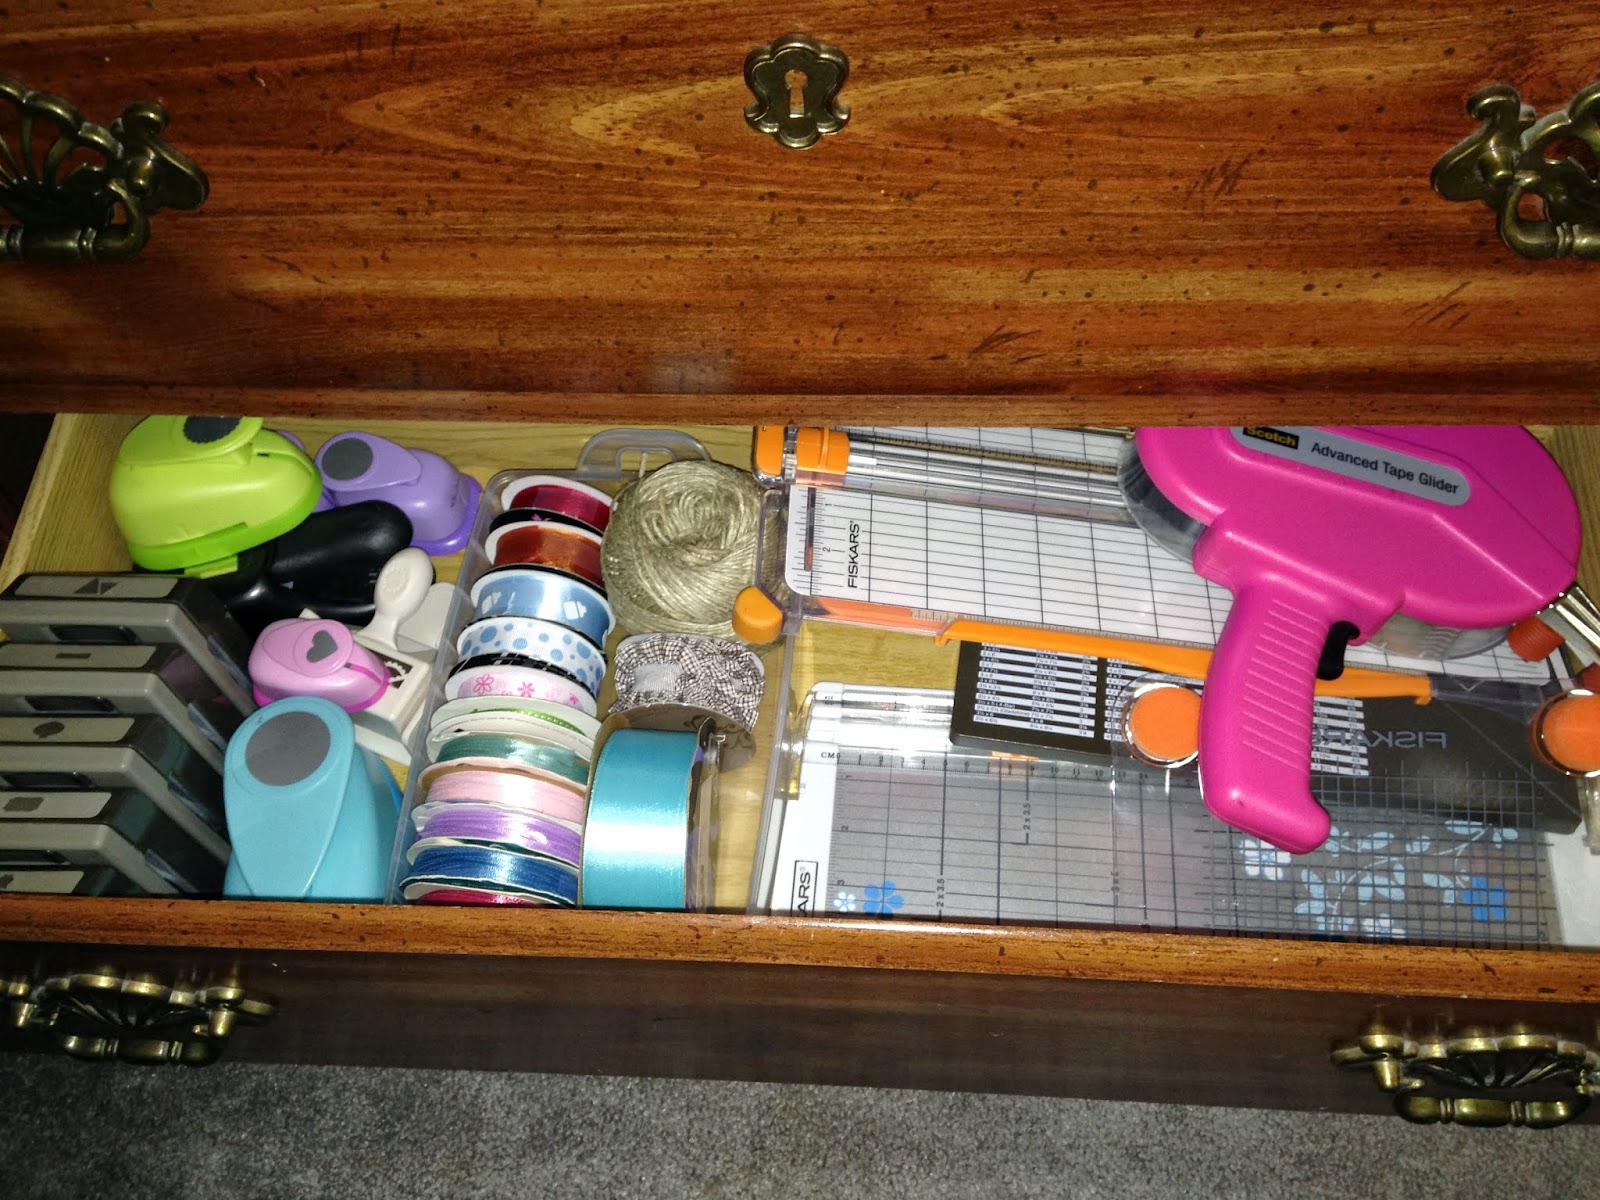
The bottom drawer has my punches, some ribbon, paper trimmers, envelope maker, and ATG!
Here's the view looking in. I've got my Stamp 'n Storage Ink Pad holder (love), wooden stamps stacked up off to the left, ink dauber holder thing, embossing folders (right hanging), miscellaneous (left hanging), and a container holding my miscellaneous clear stamp sets.
I just got this organizer at Hobby Lobby to hold my various little items that needed a home. That's what's sitting next to my clear stamp drawer.
Of course, I still have my insane amount of 12x12 paper packs and singles nearby in my amazing file cart (love, love)!
You see that space to the right that holds 8-1/2 x 11 folders? They should totally make an insert to set in there that holds 6x6 paper pads! Seriously, I'm a genius! I think I'll go contact the company now and offer my genius idea to them!
Hope you enjoyed seeing my craft closet! Hope it gives you some inspiration to create your own craft space if you're without one currently!
Go get your craft on!
--Cheryl


